
Corn on The Cob on The Grill in Husk

Corn on the Cob in Husk: The Easiest (and Tastiest) Way to Grill It!

There’s nothing quite like the taste of grilled sweet corn, especially when it’s cooked in the husk. If you’ve never tried grilling corn this way, you’re in for a treat! Leaving the husk on while grilling locks in moisture, enhancing the flavor and creating juicy, smoky, and tender kernels that practically burst with sweetness.

As someone who has hosted countless summer BBQs, I’ve tested multiple ways to grill corn—direct heat, foil-wrapped, and even boiled before grilling. But time and time again, I return to the easiest and most delicious method: grilling corn on the cob in husk. Not only does it require minimal prep, but it also delivers perfectly roasted corn with a lightly charred, smoky taste that pairs beautifully with butter, herbs, and spices.

So, if you’re ready to level up your grilling game, let’s dive into the best way to prepare, cook, and serve grilled corn in husk!

This post may contain affiliate links at no extra cost to you. Please read our full disclosure here to find out more.

Corn on the Cob in Husk: The Easiest (and Tastiest) Way to Grill It!

Why Grill Corn in the Husk?

Grilling corn on the cob in husk might seem too simple to be effective, but trust me, it’s a game-changer! Here’s why this method works so well:

  • Seals in moisture – The husk acts as a natural steamer, preventing the kernels from drying out.
  • Enhances natural sweetness – The slow roasting brings out the corn’s natural sugars, making it extra flavorful.
  • Protects the kernels – No more burnt or shriveled corn! The husk provides a barrier against direct flames.
  • Easy cleanup – Once grilled, the husks and silk peel off effortlessly, leaving behind beautifully cooked corn.
  • How to Prepare Corn on the Cob for Grilling

    Before you fire up the grill, a little prep work will ensure the best results. Follow these simple steps:

    Choosing the Best Fresh Corn

  • Look for bright green husks that are tightly wrapped around the cob.
  • The corn should feel firm and heavy, with plump kernels.
  • Avoid corn with brown, dry husks or visible mold.
  • Soaking the Corn (Optional, but Recommended)

    Soaking helps prevent the husks from burning too quickly and provides extra moisture for steaming.

  • Fill a large bowl or sink with water and submerge the corn for 15-30 minutes.
  • If the husks float, place a plate on top to keep them submerged.
  • Seasoning Inside the Husk (Optional for Extra Flavor)

    For an added burst of flavor, carefully peel back the husk (without removing it) and spread butter, garlic, or spices directly onto the kernels before grilling.

    How to Grill Corn on the Cob in Husk

    Ingredients:

  • 4 ears of fresh corn
  • 4 tbsp unsalted butter (optional)
  • 1 tsp sea salt
  • ½ tsp black pepper
  • 1 tsp paprika (for a smoky kick)
  • 1 tbsp chopped fresh cilantro (optional)
  • Instructions:

    1. Preheat your grill to medium-high heat (375-400°F).

    2. Remove any loose outer husks but keep the inner layers intact.

    3. (Optional) Pull back the husk slightly, apply butter and seasoning, then fold the husk back.

    4. Place the corn directly on the grill and cook for 15-20 minutes, turning every 5 minutes.

    5. The husks will darken and char, but the kernels inside will steam to perfection.

    6. Remove from the grill and let them cool slightly before peeling off the husk.

    7. Serve with butter, salt, or your favorite toppings!

    Top Amazon Picks for the Best Grilled Corn

    To make grilling even easier, I’ve rounded up three must-have products that I personally use and recommend.

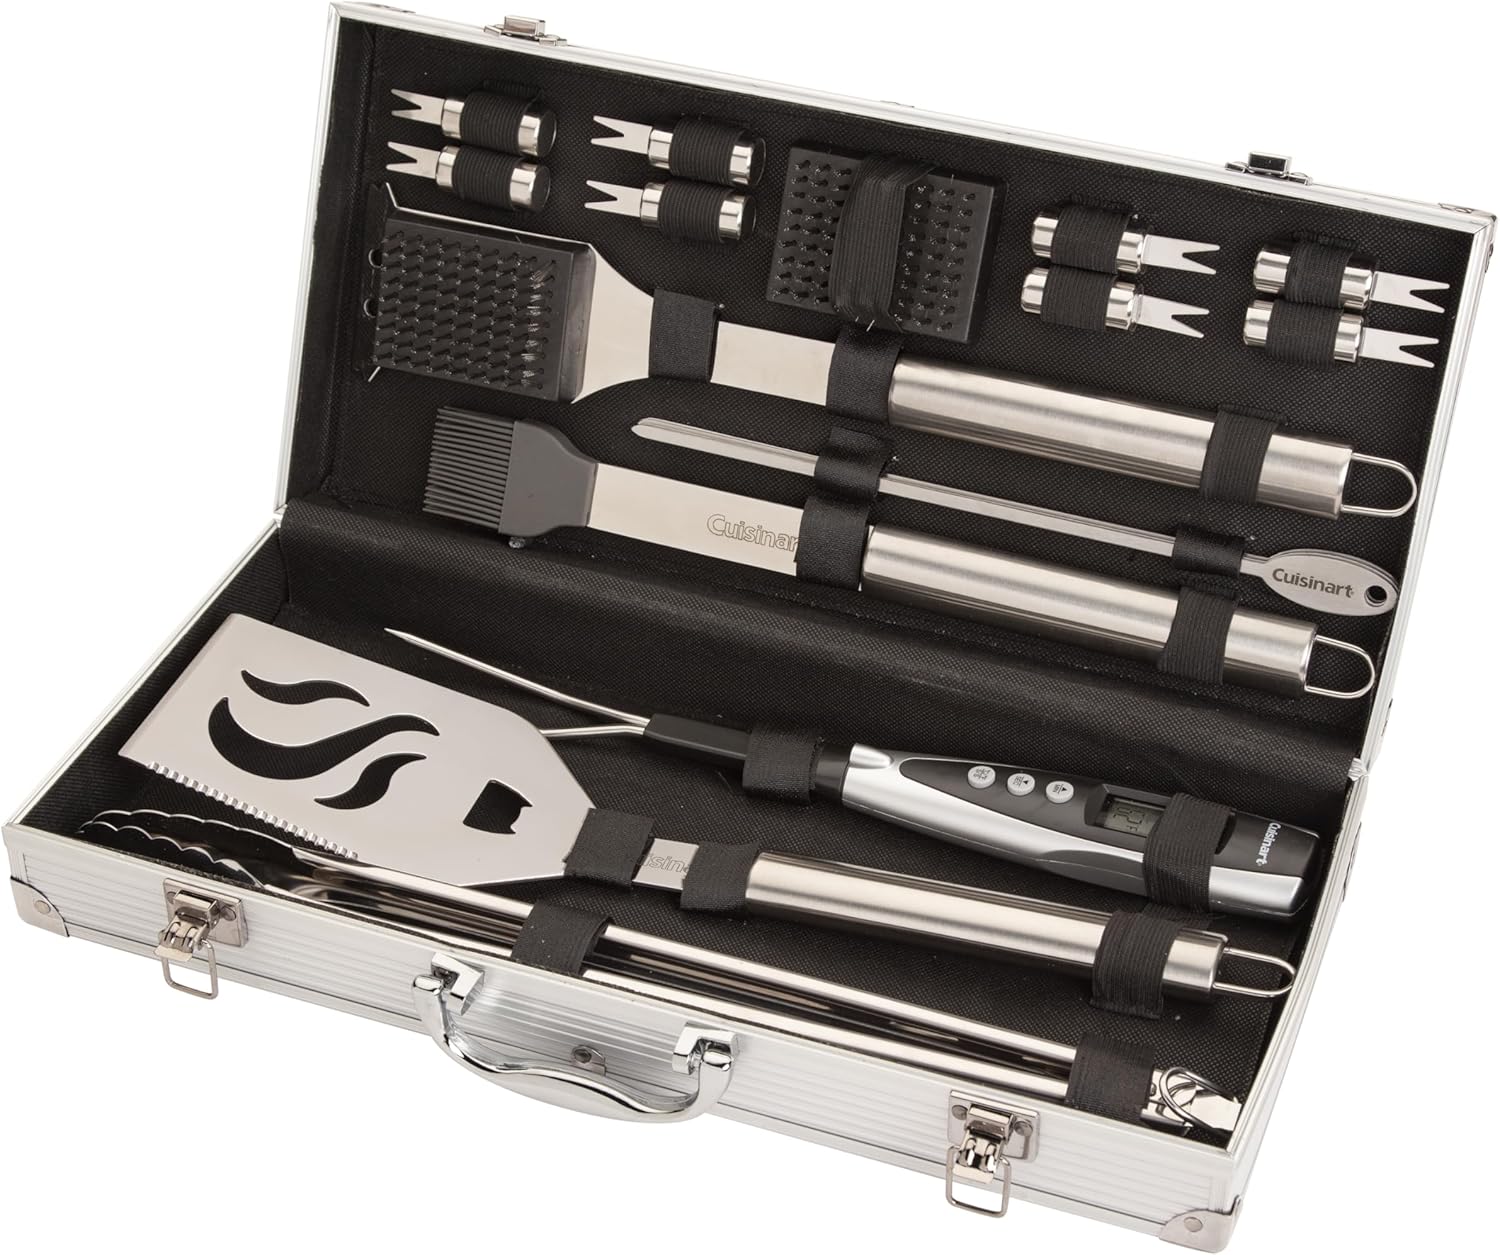
    1. Cuisinart Deluxe Grill Set – 20-Piece BBQ Tool Kit

    Perfect for turning and handling corn on the grill, this professional stainless steel BBQ tool set comes with a spatula, tongs, grill fork, basting brush, and more.

    Why You’ll Love It:

  • Heavy-duty stainless steel tools
  • Heat-resistant handles for safety
  • Includes a sleek carrying case for easy storage
  • Grab yours here

    2. Grill Mat Set – Non-Stick BBQ Grill Mats

    If you’re worried about losing corn or other veggies through the grates, these non-stick grill mats make grilling easier and mess-free!

    Why You’ll Love It:

  • Keeps small food from falling into the grill
  • Reusable and dishwasher-safe
  • Works with gas, charcoal, and electric grills
  • Get yours today

    3. Corn Stripper Tool – Easy Kernel Remover

    Want to use grilled corn for salads, salsas, or tacos? This handy corn stripper quickly removes kernels without the mess.

    Why You’ll Love It:

  • Effortlessly removes kernels
  • Stainless steel blades for durability
  • Compact and easy to clean
  • Order now

    How to Serve Grilled Corn (Delicious Recipes & Toppings!)

    Classic Buttered Corn

  • 2 tbsp melted butter
  • ½ tsp salt
  • ½ tsp black pepper
  • Brush over hot grilled corn for a simple, satisfying flavor!

    Mexican-Style Elote (Street Corn)

  • ¼ cup mayonnaise
  • ¼ cup sour cream
  • ½ cup crumbled cotija cheese
  • 1 tsp chili powder
  • 1 tbsp lime juice
  • Spread mayo mixture over grilled corn, sprinkle with cheese, and finish with a squeeze of lime.

    Garlic Parmesan Corn

  • 2 tbsp butter (melted)
  • 1 clove garlic (minced)
  • ¼ cup grated parmesan
  • 1 tbsp chopped parsley
  • Mix butter and garlic, brush over corn, then sprinkle with parmesan and parsley.

    Bonus: Grilling Corn in Foil for Extra Flavor

    If you prefer an even softer texture, try wrapping corn in aluminum foil before grilling. This method steams the kernels inside, making them extra juicy!

    How to Grill Corn in Foil:

    1. Shuck the corn and place it on a sheet of foil.

    2. Spread butter, salt, and spices over the kernels.

    3. Wrap tightly and grill for 15-20 minutes, turning occasionally.

    Final Thoughts

    Grilling corn on the cob in husk is truly the easiest and tastiest way to enjoy fresh corn. Whether you’re making classic buttered corn, smoky BBQ corn, or spicy Mexican-style elote, this method ensures perfectly cooked, juicy kernels every time. Plus, with minimal prep and cleanup, it’s the ideal summer side dish for BBQs and cookouts.

    So, fire up your grill, grab some fresh sweet corn, and give this method a try—you’ll never want to cook corn any other way again!

    Happy grilling!

    Comments

    Popular posts from this blog

    Crockpot Beef Stroganoff Recipe

    The Easiest, Creamiest Crockpot Beef Stroganoff Recipe Ever! Few things in life are as satisfying as a creamy, comforting bowl of beef stroganoff. For those juggling a hectic schedule, the crockpot version is an absolute game-changer. As a chef and food writer, I’ve tried many variations of this classic Russian dish. Today, I’m sharing my go-to recipe: an easy, creamy, and versatile crockpot beef stroganoff that blends tradition with modern convenience. Imagine a dish so comforting it feels like a warm hug on a chilly day, yet simple enough to prepare in the morning and have dinner ready when you’re back from work. Whether you’re a busy mom, a career woman, or someone who just loves good food, this recipe is for you. Let’s dive into the magic of slow-cooked beef stroganoff and how you can make it your own. This post may contain affiliate links at no extra cost to you. Please read our full disclosure here to find out more. What is Beef Stroganoff? Beef stroganoff, or “...

    Easy Oven-Baked Panko Cod Recipe

    Crispy Perfection: Easy Oven-Baked Panko Cod Recipe You Can’t Resist When it comes to dinner recipes that tick all the boxes—delicious, healthy, and quick—this easy oven-baked panko cod recipe stands out as a winner. As someone who loves experimenting in the kitchen while keeping meals light and nourishing, this dish has become a staple in my weekly meal rotation. Imagine a flaky cod fillet wrapped in a golden, crispy panko coating that’s so satisfying, it feels indulgent but is actually guilt-free. Let’s dive into this foolproof recipe that will make your family ask for seconds every time. This post may contain affiliate links at no extra cost to you. Please read our full disclosure here to find out more. Why You’ll Love This Recipe 1. Easy and Quick: With only 10 minutes of prep and 20 minutes in the oven, it’s perfect for busy weeknights. 2. Healthy and Delicious: It’s baked, not fried, and uses simple ingredients that you probably already have in your pantry. ...

    Italian Pizzelle Cookies

    How to Make Authentic Italian Pizzelle Cookies in Just 20 Minutes There’s something magical about the aroma of pizzelle cookies wafting through the kitchen. These thin, crisp, and beautifully embossed cookies hold a special place in my heart—they remind me of my grandmother’s holiday gatherings, where the scent of anise filled the air. Making pizzelle cookies is not only a culinary tradition but also a beautiful way to bring family and friends together. Whether you're preparing for a festive holiday or simply looking for a quick and versatile dessert, this easy recipe will have you crafting authentic Italian pizzelle cookies in just 20 minutes. Plus, I’ll share some creative filling ideas, display tips, and product recommendations to elevate your pizzelle game! This post may contain affiliate links at no extra cost to you. Please read our full disclosure here to find out more. Ingredients for Authentic Pizzelle Cookies Let’s start with the essentials. Here’s the e...