spoon

Recent Recipes

Thai Iced Tea Recipe

Comments (0) | Thursday, December 5, 2013

If you have ever eaten in a Thai or perhaps a Vietnamese restaurant, then you have probably seen an interesting orange colored beverage in a tall glass go by with a waiter or waitress you've often wondered just what kind of drink this might be. You're pretty sure it's a Thai drink.... after all, you are in a Thai restaurant! But, just what is it made of?


What you have seen is called Thai Iced tea. Surprise! It doesn't look much like any tea that you are probably used to seeing. But, it is tea! It's just prepared in a different way that you may not have heard of before. It looks intriguing, and it tastes wonderful, and is very welcome on a hot summer day, or whenever you are eating hot, spicy food.
Normally, Thai restaurants are not too giving when it comes to their recipes. But, the recipe for Thai Iced tea wasn't too hard to come by. It is such a staple Thai beverage that almost anyone who knows their Thai food can tell you how to prepare it.
The type of tea that is used in Thai restaurants is called Lapsang Suchong and it can be found on the internet. You can also use any good quality black loose tea and end up with the same results. You will need around 2/3 cup of black tea leaves to make two glasses of Thai Iced tea.
You'll also need 1 and 2/3 cup of good-tasting water, preferably purified, ½ cup of sugar, and 1 ½ cups of evaporated milk, which is the amount that is in a 12 ounce can of the drink. Add to the recipe ingredients a few pieces of kitchen equipment, such as a teakettle or a large cooking utensil to boil water in, a large tea strainer, or you can go Asian for this recipe and try to locate a traditional Asian tea sock! Have ready a pitcher that can take the heat of boiling water, and a long spoon for stirring.
Place the water into the kettle or utensil and bring it to a rolling boil. Remove the water from the stove's heat. You don't want the tea to boil, as this would make it bitter. Add the 2/3 cup of black tea leaves to the water, and stir them with the long spoon to make sure that they have all been covered with water. You want the tea leaves to steep for 5 minutes.
When 5 minutes have passed, it's time to strain the tea into the pitcher, and remember, it needs to be a pitcher that can take the heat, for that tea is going to be very hot. This might take a little time, as 2/3 cup of tea is quite a lot to strain. Poor the tea through the strainer a little at a time, and when it begins to fill up with wet tea leaves, you can stop and remove the tea leaves, and then began to strain the tea again.
Once you have strained all of the tea, and it is safely in the pitcher, you can stir the ½ cup of sugar into the brew. It is best to do this while the black tea is still fairly hot, since the heat will help the sugar to dissolve faster. Have you ever tried to get sugar to dissolve in cold tea? It doesn't work very well.
Now, you need to allow the tea to cool for a while, so place it in the refrigerator, and be patient! You'll get to sample this tea soon enough!
An hour and a half goes by slowly...


Are you ready? Good! The tea should be cool enough now, so you can take it out of the refrigerator. Get out two tall glasses, preferably made of clear glass, as it shows up the intriguing looks of the tea much better than a solid colored glass would.
Fill the two glasses with ice cubes. Take the tea pitcher, and pour the cool tea over the ice, but do not fill the glass all the way to the top! You want to leave around one fourth of the glass empty up at the top. Get out the evaporated milk, and slowly pour it into the top of each glass.
You want two layers of color to show, so make sure you pour carefully to insure that they do. If you are having trouble with the layers mixing into each other on the first glass, you might want to try this tip on the second glass as you are preparing it. Take your iced tea spoon, and hold it over the glass. Pour the evaporated milk slowly onto the back of the spoon, letting it run into the glass of tea. This should do the trick.
You will need either a straw or an iced tea spoon to drink Thai Iced tea properly. Some people like to mix the milk into their iced Thai tea right from the start. Others enjoy sipping their sweetened tea through the layer of milk. It all depends on how it tastes best to you, and it's fun to experiment with both ways!


Follow Our Pinterest


Read More......

Traditional American Food

Comments (0) | Tuesday, December 3, 2013

Classic Potato Salad
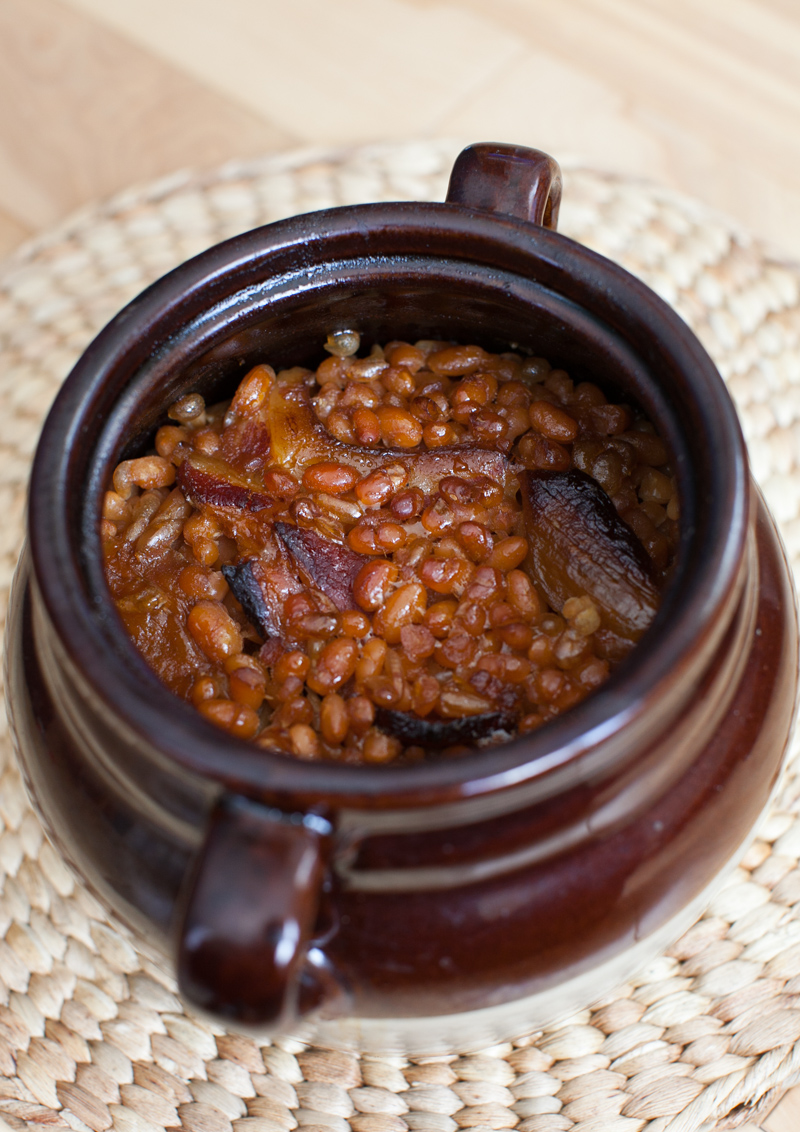
Maple Baked Beans
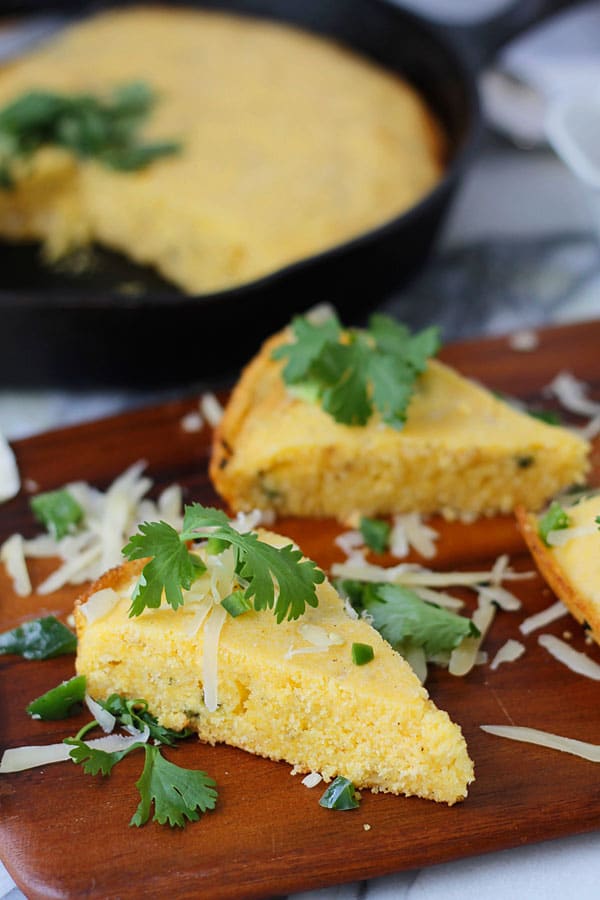
Brown Butter Cornbread
Great Deviled Eggs
Cheddar and Scallion Biscuit
Sloppy Joes
Cheesy Chilli Mac


Follow Our Pinterest


PRODUCTS FROM AMAZON


Read More......

Greek Salads

Comments (0) | Saturday, November 23, 2013

Cypriot Salad
Patatosalata
Pantzarosalata
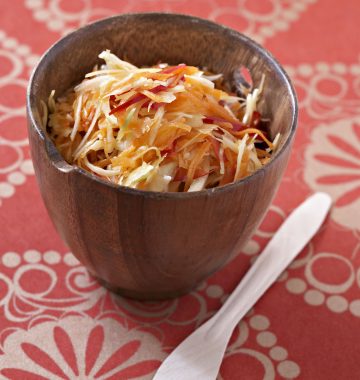
Lahanosalata


Follow Our Pinterest

PRODUCTS FROM AMAZON


Read More......

Traditional Greek Food

Comments (0) |

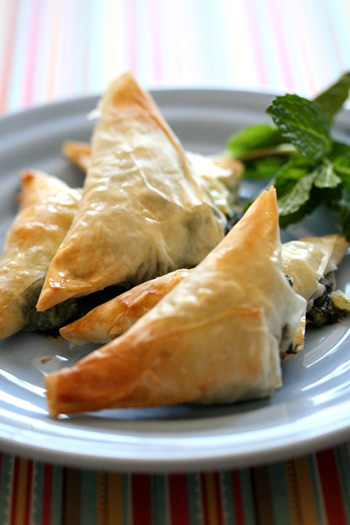
Phyllo Cheese Triangles - Tiropites
Horta Vrasta - Boiled Leafy Greens
Chicken Soup Avgolemono
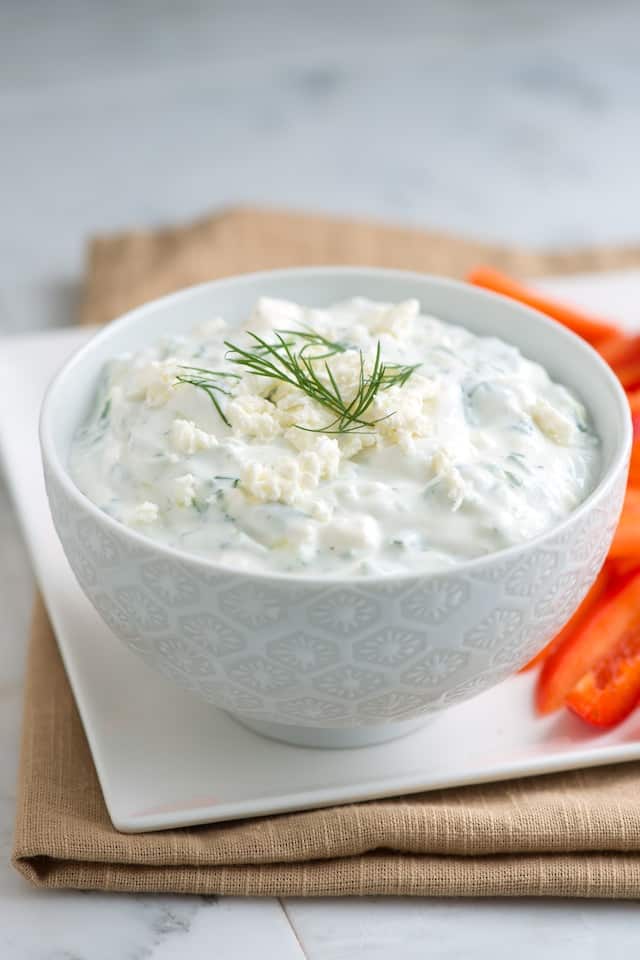
Tzatziki - Cucumber Yogurt Dip
Pastitsio - Baked Pasta with Meat and Bechamel Topping
Galaktoboureko - Custard Piewith Phyllo
Fassolata - White Bean Soup


Follow Our Pinterest


Products From Amazon


Read More......

Popular Indian Dishes

Comments (0) | Friday, November 22, 2013

Follow Our Pinterest


Naan
Papri Chaat
Kaali Daal
Palak Paneer
Chole - Chickpea Curry
Malai Kofta
Rogan Josh
Chicken Tikka Masala
Tandoori Chicken - Tandoori Murgh
Butter Chicken - Murg Makhani


Read More......

Cooking Perfect Risotto

Comments (0) | Tuesday, November 19, 2013

Risotto is an important part of Italian cuisine, but making the perfect risotto takes a bit of practice. Beyond that, risotto needs just the right timing and concentration. This could be why your risotto never tastes as good as the stuff you order in a restaurant, or why the restaurant cannot compete with your Italian grandmother's risotto.

How To Buy
Cooking the perfect risotto starts with buying the right rice. You should look for round or semi-round rice to start with. The best type for cooking risotto is Arborio. Long-grained rice is going to lead to inferior risotto because the strands stay separate. You should also avoid minute rice as it will also stay separate and will not absorb the condiments.


Cooking Risotto
When cooking the perfect risotto you will generally follow the same basic procedure, though there may be some minor variations in different recipes. You will start by mincing a small amount of herbs and/or onion as called for in the recipe. You will sauté this in an abundant amount of olive oil, to which you will add the rice. You will need to continue to stir vigorously to prevent the mixture from sticking to pan. Once the rice becomes translucent you will add in a ladle of broth. You will then need to continue to stir until the liquid is absorbed. Stirring is important.
If the grains of rice dry out too much they will flake. You will continue to add broth a ladle at a time as the rice absorbs it until you have reached al dente. Firm risotto should be timed so that the liquid is entirely absorbed, whereas soft risotto should have a little liquid left. Then, depending on the recipe, you will add butter and cheese, before turning off the flame and covering the risotto.
It will need to sit for a few minutes before serving. If you want perfect risotto that is richer, you could add about a quarter cup of heavy cream along with the butter. This is known as mantecato, and is smoother than traditional risotto.
Risotto Recipes
If you are looking to use risotto as a first course, here is a recipe that you can try:

Risotto with asparagus
1 pound of fresh asparagus
Half of a small onion, sliced finely
1 and 1/2 cups of rice
1/4 cup of butter plus an additional two tablespoons. You could also substitute ¼ cup of olive oil and two tablespoons of butter.
1 cup of grated Parmigiano cheese
Save the water that the asparagus was cooked in, along with enough broth to make a quart. This will need to be simmering.
Salt and white pepper

To make this perfect risotto, you will first need to clean and boil the asparagus until it can be easily penetrated by a fork. Remove from the water using tongs, and trip the tips from the stalks. The green part of the stalks should be cut into one inch lengths. The white ends can be returned to the pot with the broth.
Sauté the onion using half of the butter or olive oil. Once the onion has become translucent, you can add the rice. Once the rice has also become translucent, you should stir in the lengths of the asparagus stem. Add the liquid in a ladle at a time, being careful not to add any of the white stems.
Continue cooking as explained above, and when the rice is nearly cooked add in half of the reserved asparagus tips. Season the risotto as needed, and once it has reached al dente remove from the heat and add the butter and cheese. Allow to stand before serving, and then garnish with the remaining tips. This recipe will serve four to six people.

Follow Our Pinterest


Read More......

Gelato Recipes for the Holidays

Comments (0) |

Here are a couple of great gelato recipes that you should check out for the holidays this year. As I said before, I think gelato is going to be America's next food craze and you should introduce your friends and family to gelato this Holiday season. Why give another fruitcake, or bring a pumpkin pie to Thanksgiving dinner.

Everyone will love your homemade gelato and will appreciate that you put in the effort to make it yourself. Gelato makes the perfect low-budget holiday gift. Just put your gelato in a tupperware container, wrap it with a bow and include a card (with the gelato recipe of course). I give homemade gelato to all of my friends. Many look forward all year to receiving my gelato. I go the extra mile and use an elegant glass container instead of tupperware. My friends get a heart felt gift, they get to keep and use the container it came in, and they can try to duplicate it because I include the gelato recipes. Lots of my friends have gotten into gelato making after receiving a gift from me.
Try these gelato recipes (from Bon Appetit magazine) this holiday season:

Cinnamon, Chocolate & Toffee Gelato - Absolutely Perfect with Hot Chocolate!


Ingredients
1/2 cup sugar
2 tablespoons cornstarch
1 1/4 teaspoons ground cinnamon
Pinch of salt
2 cups whole milk, divided
5 ounces bittersweet (not unsweetened) or semisweet chocolate, finely chopped
1/2 cup chilled heavy whipping cream
1/3 cup coarsely crushed toffee candy (such as Skor, Heath bar, or Almond Roca)
Preparation
Whisk sugar, cornstarch, cinnamon, and salt in heavy medium saucepan until blended. Gradually add 1/4 cup milk, whisking until cornstarch is dissolved. Whisk in remaining 1 3/4 cups milk. Whisk over medium-high heat until mixture thickens and comes to boil, about 6 minutes. Reduce heat to medium and cook 1 minute longer, whisking occasionally. Remove from heat; add chocolate. Let stand 1 minute, then whisk until melted and smooth.
Transfer gelato base to medium bowl. Mix in cream. Place bowl over large bowl filled with ice and water and cool, stirring often, about 30 minutes.
Process gelato base in ice cream maker according to manufacturer's instructions, adding toffee during last minute of churning. Transfer to container; cover. Freeze at least 3 hours and up to 2 days.

Zagablione Gelato - Try this one with a little Egg Nog

Ingredients
4 large egg yolks
1/2 cup sugar
1 cup whole milk
1 cup heavy whipping cream
6 tablespoons imported dry Marsala
2 tablespoons dark rum
1 teaspoon vanilla extract
Preparation
Whisk yolks and sugar in medium bowl until thick, about 2 minutes. Heat milk and cream in medium saucepan over medium heat until mixture bubbles at edges. Gradually whisk hot milk mixture into yolk mixture; return to saucepan. Stir over medium heat until custard leaves path on back of spoon when finger is drawn across and temperature registers 170°F, about 6 minutes. Immediately pour custard through sieve set over another medium bowl. Stir Marsala, rum, and vanilla into custard. Cover; refrigerate at least 3 hours.
Process custard in ice cream maker. Transfer gelato to container. Cover and freeze until firm, at least 6 hours. (Can be made 2 days ahead. Keep frozen.)
Please enjoy these fantastic gelato recipes this holiday season.


Follow Our Pinterest


Discover how I eat like a king with zero skill and less than 10 minutes a day. 
Klik THIS


Read More......

Best Recipes: Banana Split Brownies

Comments (0) | Saturday, November 16, 2013

Your family and friends will absolutely do flips over these Banana Split Brownies. Just like the ice cream version, these delights blend the flavors of chocolate, banana, and strawberries to perfection. In fact, these brownies are so good, you can probably use them to bribe folks into just about anything. "If you do this, I'll make you some Banana Spit Brownies." Yeah, these are as good as gold.

Brownies
½ cup butter
1 cup sugar
1 tsp. baking powder
½ tsp. baking soda
1/8 tsp. salt
1 cup mashed ripe banana (3 medium
2 eggs
1 cup all-purpose flour
1/3 cup unsweetened cocoa powder
Strawberry Cream Cheese Frosting
8 oz. tub cream cheese with strawberries
1 cup sifted powdered sugar
½ cup frozen strawberries, thawed, drained, and cut up
2 ½ to 3 cups powdered sugar
Garnish (optional)
Sliced bananas
Maraschino cherries
Directions for Brownies
Preheat oven to 350 degrees.
Grease a 13x9x2-inch baking pan; set aside.
In a large mixing bowl, beat butter with electric mixer on medium to high speed for 30 seconds. Add sugar, baking powder, baking soda, and salt. Beat until combined, scraping sides of bowl occasionally. Beat in banana and eggs. Beat or stir in flour and cocoa powder.
Pour batter into prepared pan.
Bake about 20 minutes or until wooden toothpick inserted into center comes out clean. Cool in pan on wire rack. Spread with Strawberry Cream Cheese Frosting.
Cut into bars. Garnish with banana slices and maraschino cherries. Cover and store in refrigerator.
Directions for Strawberry Cream Cheese Frosting
In mixing bowl, combine ½ of 8-oz tub cream cheese with strawberries, and 1 cup sifted powdered sugar. Beat with electric mixer on medium speed until combined. Beat in ½ cup frozen strawberries. Beat in 2 ½ to 3 cups powdered sugar or enough to make frosting of spreading consistency (frosting will stiffen with chilling).


Follow Our Pinterest


Read More......

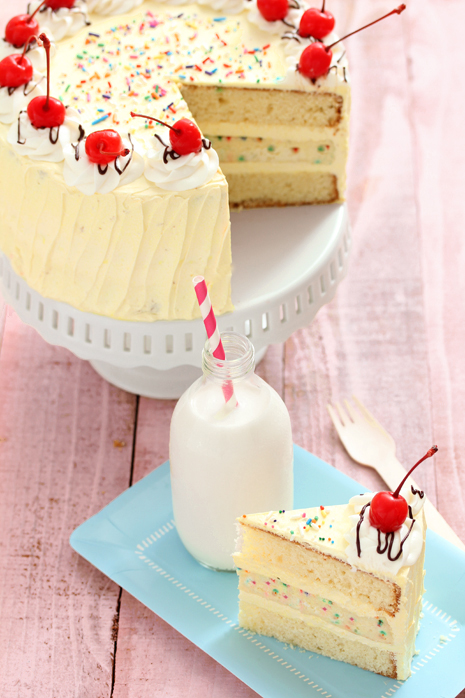
Banana Split Cake is Very Easily Made

Comments (0) |

Everyone who loves bananas and strawberries will go crazy over this banana split cake recipe. It is delicious with homemade banana icing. This cake is so beautiful I wish my baker would have had it in his wedding cake recipes. This sweet treat can be made fast and easy, the smell of it baking will fill your home with a wonderful aroma.


This banana split cake is very easily made, and if you have some bananas that tend to be over ripening in the fruit bowl this recipe is a great way not to waste them. Once the banana skins start to brown and get spotty, they are just ready to be blended in to this flavorful treat that your whole family will enjoy.
At our house we do not believe in being wasteful. If you feel the same way and have too many ripe bananas you could always bake another banana cake and offer it as a wonderful gift to family or friends. Another option is to freeze one of the cakes for later or you could just freeze the extra bananas. Just make sure the bananas are unpeeled and you can put them into a freezer bag. There is a reaction to the cold temperature when bananas are frozen. The peel will turn black.
The fruit is still good to eat. just remove then from the freezer, and mix them right into the cake or you may rather thaw them first.
You can use bananas that you just bought and are not ripe enough yet. Peel your bananas and put them in the microwave until they brown. It will not take but a few seconds. After they are ready put them to good use in this delicious Banana split cake recipe
Banana Split Cake Recipe
Ingredients 1 box Duncan Hines Deluxe Yellow (or strawberry) cake mix
1 1-lb pkg. frozen strawberries
1/2 cup sugar
5-6 bananas
1 lg. tub Cool Whip
1 cup roasted pecans, finely chopped
Cook cake mix according to directions, making 4 layers, let cool completely. Mix strawberries with 1/2 cup sugar. Slice bananas into rings. Stack layers as follows: lay bananas close around the edges of 1st layer, fill in center with strawberries, cover with Cool Whip and sprinkle pecans. Continue to layer each layer the same.
Around the top and down the sides spread Cool Whip and sprinkle with pecans, refrigerate until ready to serve.This banana split cake will keep in an airtight container for 2-3 days, or you can refrigerate for up to 7 days.


Follow Our Pinterest


Discover how I eat like a king with zero skill and less than 10 minutes a day. 
Klik THIS


PRODUCTS FROM AMAZON


Read More......

How to Cook the Perfect Pot Roast

Comments (0) |

Pot roasts are a throw back from past generations where Sunday dinner at grandma's house was a weekly tradition. Today many new cooks are intimidated by pot roasts and have never even tried cooking a pot roast. A pot roast dinner is actually a low cost highly nutritious way to serve an easy to fix hot meal.

Pot roasts are usually the cuts of beef known as the rump roast which is part of the steers leg or the chuck roast which is part of the steers shoulder. Pot roast meat is usually less expensive per pound than meats such as a tenderloin or sirloin tip which makes it an ideal choice for many families.
Because of the well marbled meat in a pot roast the fat and connective tissue make for a surprisingly tender flavorful and moist meal. Pot roasts should be slow cooked by a moist method such as braising or in a crock pot until the meat is well done. By slow cooking pot roast this inexpensive cut of meat is transformed into a tender rich and flavorful cut of meat. The palatable texture of a slow cooked pot roast blends wonderfully with cooked carrots, onions and potatoes allowing for an almost effortless meal.
Here is a simple pot roast recipe that will surely please your budget as well as your palate.
In a crock pot or other slow cooker combine
1 rump roast or chuck roast
1 bay leaf
½ onion, sliced in large chunks
1 large carrot, sliced in large chunks
12 peppercorns
1 tsp of salt
Enough water or broth either chicken or vegetable to cover half way up the roast
Slow cook on low for 4-5 hours remove the pot roast from the liquid and serve with roasted potatoes and carrots.


Follow Our Pinterest

Discover how I eat like a king with zero skill and less than 10 minutes a day. 
Klik THIS


PRODUCTS FROM AMAZON


Read More......

How to Make a Simple Cobb Salad

Comments (0) | Friday, November 15, 2013

Do not underestimate leftovers! Restaurateur Robert Cobb didn't. He took all the leftovers from his fridge at the Hollywood Brown Derby Restaurant back in 1930s, mixed them in a bowl and added dressing. That was he came up with one of America's most favorite, the Cobb salad.

Cobb salad comes in different variations but the classic one proves to be still the winner. It is kind of garden salad which main ingredients include vegetables, such as Romaine lettuce, endives, and watercress with crispy bacon, tomato, roast chicken breast, egg, avocado, Roquefort cheese, chives, and seasoned with red wine vinegar.
While most types of salad are tossed together, Cobb salad is served with all the ingredients arranged on the plate.
How To Prepare;
Below are your main ingredients and procedure for preparing your Cobb Salad.
Ingredients:
  • Hard-boiled eggs 3 pcs. peeled and chopped
  • Bacon Sliced
  • Romaine lettuce 1 head, cut into bite-size
  • Boiled chicken breast at least 4 cups, diced
  • Avocados peeled and diced
  • Tomatoes chopped
  • Roquefort cheese 4 oz., crumbled
Dressing:
  • Red Wine vinegar - 1/4 cup
  • Dijon Mustard - 1/2 tsp
  • Crushed garlic - 1 clove
  • Worcestershire sauce - 1 tsp
  • Salt - 1/4 tsp
  • Olive oil - 1/3 cup
  • Fresh ground black pepper - 1/2 tsp
Procedure;
  1. First, fry the bacon, drain oil on a paper towel, and cut into crumbles.

  2. Place romaine lettuce on a plate to serve as bed for the other recipes. Next, top the lettuce with chicken, bacon, eggs, tomatoes, avocados, and Roquefort cheese arranged in rows.

  3. Prepare the dressing in a bowl. Mix the garlic, salt, pepper, mustard, Red Wine vinegar, and Worcestershire sauce. Then, put the olive oil and whisk. Pour the dressing on the salad and serve.
Health Facts;

The colorful and yummy Cobb Salad is not only a delectable dish with an interesting history. It also makes for a healthy main or side dish. For one, Cobb salad has enough proteins, the amino-acid carrying nutrient that is responsible for keeping your cells, skin, nails, and hair healthy. The Romaine lettuce is also rich in anti-oxidants such as beta-carotene, Vitamins C and K, iron, calcium, and folate, among others. Avocado is also high in B vitamins, potassium, and good fats.
Cobb salad is not actually an ideal meal for those who are on strict diet because of the high amount of calories gained through avocado, cheese, eggs, bacon and chicken.
But if you can't resist the Cobb Salad's [http://knifeskills.cookingvideorecipes.com] tempting colorful, and yummy look, you can always put away half of the cheese, avocado, eggs, and bacon and leave just enough to satisfy your cravings without loading up the calories.


Follow Our Pinterest


Discover how I eat like a king with zero skill and less than 10 minutes a day. 
Klik THIS


PRODUCTS FROM AMAZON


Read More......
Powered by Blogger.

Followers

Blogroll

About

Blogger templates

Blogger news